

How to Build a House in Kenya: A Step-by-Step Guide
Owning a home is a dream shared by many. Whether you are planning a simple bungalow, a modern maisonette or a luxurious family home, understanding the construction process can save you time, money and costly mistakes.
Building a house is not just about buying cement and hiring fundis. It involves careful planning, budgeting, obtaining approvals, designing the house and supervising the entire construction process.
This comprehensive guide explains how to build a house step by step and highlights the key decisions you need to make before breaking ground.
Step 1: Determine Your Budget
Before buying materials or looking for contractors, establish how much money you are willing to invest in your project.
Your budget should cover:
- Site mobilisation.
- Architectural drawings.
- Structural designs.
- Government approvals.
- Construction materials.
- Labor costs.
- Professional fees.
- Finishing works.
- Landscaping and external works.
Many homeowners underestimate the actual cost of construction, leading to stalled projects.
Estimate Your Building Cost Before You Start
One of the smartest things you can do is estimate your construction costs beforehand. Use our Construction Cost Calculator to estimate the cost of your project.
The calculator helps homeowners estimate building costs for bungalows, maisonettes, apartments and commercial buildings.
Related: How Much Does It Cost to Build a House in Kenya?
Step 2: Purchase Suitable Land
Location is one of the biggest factors that influence construction costs and property value. Before buying land, consider:
Accessibility
Ensure roads are available and passable throughout the year.
Availability of Utilities
Look for access to:
- Water.
- Electricity.
- Internet connectivity.
- Sewer systems.
Soil Conditions
Poor soils can increase foundation costs significantly.
Security
Consider the safety of the area and future development prospects.
Popular residential areas in Kenya include:
- Ruiru
- Kitengela
- Syokimau
- Juja
- Kikuyu
- Ngong
- Karen
- Kiambu
Step 3: Carry Out a Site Survey and Soil Investigation
Before construction begins, conduct:
Topographical Survey
This helps determine:
- Boundaries.
- Slopes.
- Levels.
- Existing features.
Soil Test
A soil test helps determine:
- Bearing capacity.
- Foundation requirements.
- Potential structural risks.
Skipping this step can lead to expensive structural problems later.
Step 4: Choose Your House Design
Your house design should match:
- Your budget.
- Family size.
- Lifestyle.
- Future expansion plans.
Popular house designs in Kenya include:
3 Bedroom Bungalows
Perfect for small and medium-sized families.
4 Bedroom Maisonettes
Suitable for larger families requiring more space.
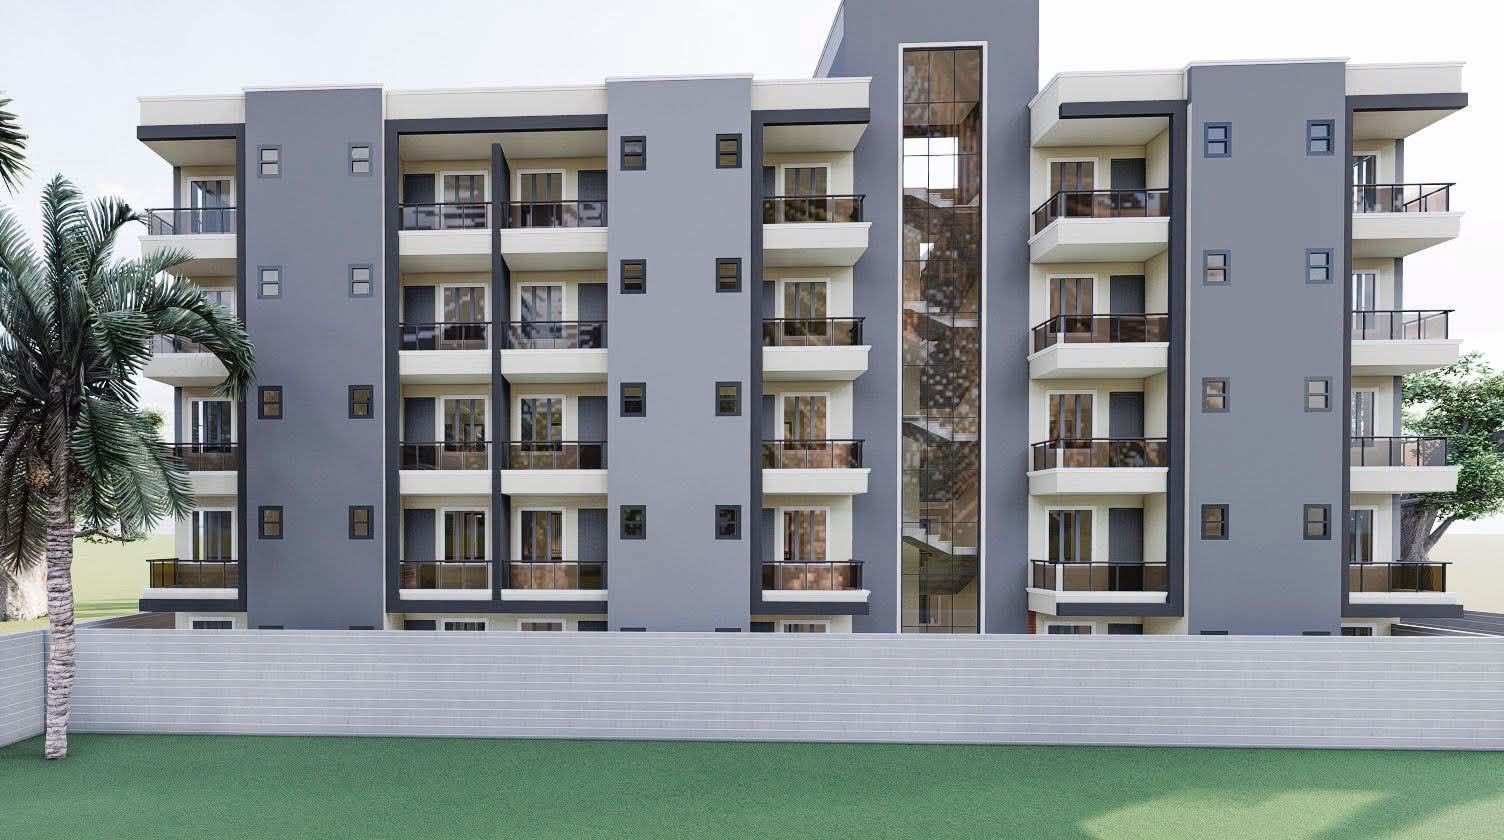
Flat Roof Houses
Modern and stylish with a contemporary appearance.
Hidden Roof Designs
Among the most popular luxury house designs in Kenya.
Step 5: Hire Professionals
A successful building project requires qualified professionals. These include:
Architects
Responsible for:
- House design.
- Space planning.
- Working drawings.
Structural Engineers
Responsible for:
- Structural calculations.
- Reinforcement details.
- Stability and safety.
Quantity Surveyors
Responsible for:
- Bills of quantities.
- Cost estimation.
- Budget control.
Contractors
Responsible for actual construction.
Working with professionals helps avoid costly mistakes and ensures compliance with building regulations.
Step 6: Obtain Building Approvals
In Kenya, approval must be obtained before construction starts.
Approvals may involve:
- County government approvals.
- NCA registration.
- NEMA requirements (where applicable).
Failure to obtain approvals may result in:
- Demolition orders.
- Penalties.
- Delays in construction.
Step 7: Site Preparation
After approvals, the site is prepared for construction.
Activities include:
- Clearing vegetation.
- Removing debris.
- Setting out the building.
- Excavation.
Proper setting out ensures the building dimensions match the approved drawings.
Step 8: Foundation Construction
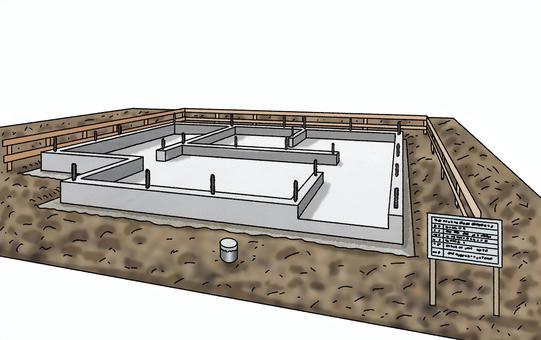
The foundation transfers the load of the building to the ground.
This stage involves:
- Excavation.
- Hardcore filling.
- Reinforcement works.
- Concrete casting.
- Damp-proof membrane installation.
The type of foundation depends on:
- Soil conditions.
- Building design.
- Structural requirements.
Strong foundations are essential for the durability and safety of the house.
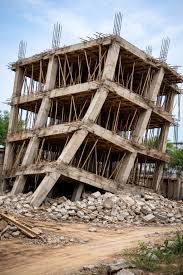
Step 9: Walling and Superstructure
Once the foundation is complete, wall construction begins.
Common walling materials in Kenya include:
- Machine-cut stones.
- Blocks.
- Bricks.
At this stage, construction includes:
- Columns.
- Beams.
- Lintels.
- Walls.
This is the stage where homeowners begin to visualize the actual shape of the house.
Step 10: Roofing
Roofing is one of the most important stages of construction.
Popular roofing styles in Kenya include:
Gable Roofs
Affordable and easy to construct.
Hip Roofs
Strong and aesthetically pleasing.
Hidden Roof Designs
Modern and luxurious.
Flat Roof Houses
Increasingly popular in urban areas.
Roofing materials commonly used include:
- Mabati sheets.
- Stone-coated tiles.
- Concrete roof tiles.
Step 11: Electrical and Plumbing Works
After roofing, installation of services begins.
Electrical Works
- Wiring.
- Lighting.
- Power outlets.
- Security systems.
Plumbing Works
- Water supply lines.
- Drainage systems.
- Waste pipes.
- Bathroom fittings.
Proper installation helps avoid expensive repairs later.
Step 12: Internal Finishes
This stage transforms the structure into a comfortable home.
Flooring
- Tiles.
- Granite.
- Terrazzo.
- Wooden floors.
Ceiling Works
- Gypsum ceilings.
- PVC ceilings.
Painting
- Interior paint.
- Decorative finishes.
Kitchen Fittings
- Cabinets.
- Countertops.
- Storage units.
Bathroom Fixtures
- Toilets.
- Showers.
- Sinks.
- Bathtubs.
The quality of finishes greatly affects the overall cost of construction.
Step 13: External Finishes
External works include:
- Plastering.
- Painting.
- Cabro paving.
- Drainage systems.
- Landscaping.
- Perimeter walls.
- Gates.
These features enhance the appearance and value of your property.
Step 14: Inspection and Handover
Before moving in, conduct a thorough inspection.
Check:
- Electrical systems.
- Plumbing systems.
- Doors and windows.
- Roofing.
- Paint finishes.
- Floor levels.
Correct any defects before taking possession of the house.
Common Mistakes to Avoid When Building a House in Kenya
Many projects become expensive because of avoidable mistakes. Avoid:
Starting Without a Budget
Always know your expected costs before construction begins. Estimate your project instantly using our Construction Cost Calculator.
Hiring Unqualified Contractors
Cheap can become expensive when poor workmanship leads to repairs.
Ignoring Soil Tests
Poor foundations are among the leading causes of structural problems.
Changing Designs Midway
Frequent changes increase costs and delay completion.
Using Low-Quality Materials
Cheap materials may compromise durability and increase maintenance costs.
Frequently Asked Questions
How much does it cost to build a house in Kenya?
The cost varies depending on the size, location, finishes and design.
How long does it take to build a house in Kenya?
Most residential houses take between 3 and 12 months depending on the size and complexity.
Which is cheaper between a bungalow and a maisonette?
Bungalows are generally cheaper to construct because they require simpler structural systems.
Building a house is a journey that requires proper planning, budgeting and professional guidance. By following the right steps and working with experienced professionals, you can avoid costly mistakes and enjoy a smooth construction process.
Before starting your project, take advantage of the Earch Designers Construction Cost Calculator to estimate your budget and make informed decisions.
Comments
0 CommentsLeave a Comment
Please log in or register to leave a comment.
Login / RegisterNo comments yet. Be the first to comment on this post!